
2 Easy Watercolor Flower Mini Projects for Beginners
If you’ve been wanting to paint watercolor flowers, these two easy projects are simple, quick, and beginner-friendly.
A Simple Way to Practice Flowers (Without Overthinking It)
If you’ve been wanting to paint flowers but aren’t sure where to start, small projects like these are one of the easiest ways in.
You’re working with:
-
simple shapes
-
a limited number of familiar elements
-
and just enough detail to feel complete
Each of these mini projects gives you a slightly different way to approach flowers — while keeping things easy and enjoyable.
💐 Mini Project 1: Simple Flower Trio
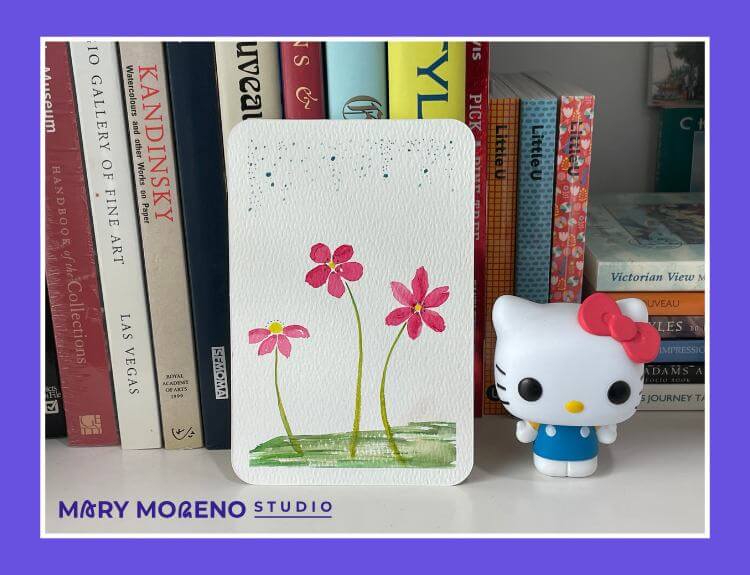
Simple flower trio watercolor mini project by Mary Moreno
What You’ll Paint
Three simple flowers side by side, each on a slim stem with a few leaves, grounded by a loose swipe of green at the base.
Steps
1. Paint the flowers first
Use a small round brush to create:
-
simple circular or slightly irregular petal shapes
-
soft, loose edges
You choose:
-
color
-
size
-
number of petals
Keep it easy and relaxed — these are meant to be imperfect (like nature).
2. Add the stems
With a light touch, pull a thin line downward from each flower.
💡 Tip: Use just the tip of the brush for thinner, cleaner lines.
3. Paint 2–3 leaves per stem (Optional)
Add loose leaf shapes to the stems if you like.
4. Ground the flowers with grass
At the base, paint a loose horizontal swipe of green.
Let it be:
-
slightly uneven
-
a little textured
The wide stroke of green anchors the flowers without needing detail.
What You'll Learn
This project helps you practice:
-
basic brushstrokes like thin, thick, and C-Curve
-
connecting shapes (flower → stem → leaf)
-
keeping a composition very simple but complete
🌸 Mini Project 2: Large Cropped Flower
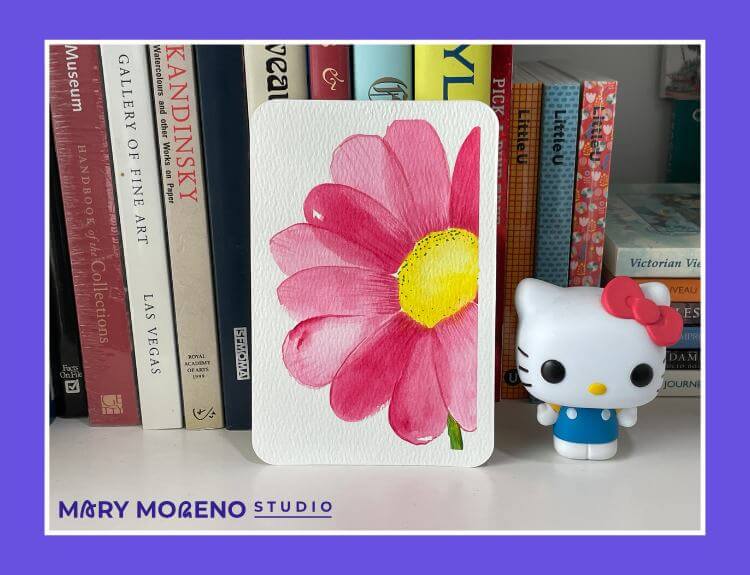
Large cropped watercolor flower by Mary Moreno
What You’ll Paint
A single large flower that extends beyond the edge of your paper.
Steps
1. Start with the center
Place a soft circular shape slightly off-center.
2. Build outward with petals
Paint larger, loose petals radiating from the center.
Let some petals:
-
go off the edge of the paper
-
feel incomplete
👉 This creates a more natural, close-up look.
3. Soften edges
Drop in a bit of clean water to soften areas while still damp.
What You'll Learn
This project introduces:
-
working at a larger scale
-
letting go of “fitting everything inside” the page
-
soft edge control
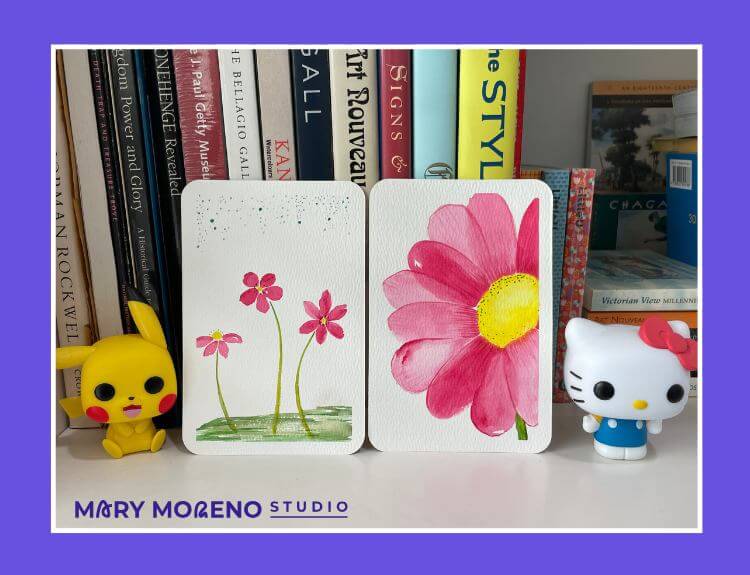
Both watercolor flower mini projects by artist Mary Moreno
👩🏻🎨 Artist's Note
- I painted the flowers in the first mini project with a size 6 round brush, and the large flower with a size 8 filbert brush.
- For stems and fine details, I switched to a size 0 round brush.
- I used the same colors for both projects (Winsor & Newton Professional Watercolors):
- Flowers — Permanent Rose and Cadmium Lemon
- Stems and grass — a mix of greens (Permanent Sap Green, Green Gold, Hooker’s Green, and Perylene Green)
- For the large cropped flower, I made a quick sketch for a bit of guidance before painting.
- I added a few small dots of Cobalt Turquoise near the top edge of the flower trio to create a bit of visual balance and interest (completely optional).
🎨 Variations to Try
If you enjoyed these mini projects, here are a few ways to revisit them:
-
Repeat the design using different colors
- Turn one into a greeting card or small gift
-
Paint both as a mini collection
Each variation gives you another way to explore the same simple shapes.
💬 Closing Thoughts for Today
Small projects like these are where a lot of growth happens.
They’re quick enough to fit into your day,
simple enough to feel doable,
and flexible enough to make your own.
Remember, 10-15 minutes counts — joy happens in the making.
And over time, those short sessions add up to real, visible progress.
Author

