
🎨 How to Do Watercolor Washes: Step-by-Step Guide for Beginners
Tips, Techniques & Exercises for Beginners
✅ Quick Overview
-
🎨 Learn 7 essential watercolor wash techniques — from flat and gradient to dry-on-dry
-
🔄 Step-by-step instructions, beginner tips, and personal insights for each technique
-
💡 Practice building control, texture, and contrast through intentional water flow
-
🔑 Includes common mistakes to avoid and a quick-reference table for clarity
-
👩🎨 Perfect foundational guide for new artists ready to build skill with every brushstroke
Introduction
This is the fifth post in my Watercolor Fundamentals blog series — designed to help beginners build a solid foundation with clear, confidence-boosting insights and practical guidance.
Every watercolor painting begins with a wash — but what kind of wash you choose can completely change the look and feel of your painting. Whether you're painting a soft sky, bold background, or layers of color, learning how to do a variety of washes is one of the most essential beginner skills.
In this post, I’ll walk you through 7 basic watercolor washes that every beginner should know:
-
flat wash
-
graduated wash
-
variegated wash
-
wet-on-wet
-
wet-on-dry
-
dry-on-wet
-
dry-on-dry
I’ll share step-by-step how to do each one, common mistakes to avoid, and a few tips that helped me most when I was starting out.
As a self-taught watercolor artist, I’ve learned that mastering washes is really all about understanding water and color (and having a little patience).
C'mon along — learning watercolor washes has its fun side too.
What Is a Watercolor Wash?
For clarity, a wash in watercolor is any layer of color on the paper, large or small, applied with a brush or sometimes a sponge.
The wetness or dryness of the paper and the saturation of the paint together determine how much control you have over what the paint does when it hits the paper.
All watercolor paintings are made up of a number of washes, either laid side by side or applied in overlapping layers.
Washes set the tone, mood, and depth of your piece.
But here's the secret: learning how to control water and pigment is the real magic.
And that’s what we’re practicing with these basic watercolor wash techniques :)
✅ Quick-Reference Table: 7 Basic Watercolor Wash Techniques
|
Wash Type |
Best For |
Quick Tip |
|---|---|---|
|
Flat Wash |
Even backgrounds, skies |
Use a large brush and work quickly — no touch-ups! |
|
Gradient Wash |
Skies, shading, fading effects |
Rinse brush slightly with each stroke to fade cleanly. |
|
Variegated Wash |
Multicolor blends, dynamic skies |
Use compatible colors and avoid over-blending. |
|
Wet-on-Wet |
Dreamy textures, organic blends |
Trust the flow — let it dry without touching it again. |
|
Wet-on-Dry |
Details, sharp edges, layering |
Always let the layer underneath dry fully before painting. |
|
Dry-on-Wet |
Soft texture with control |
Use thick paint and light pressure for interesting edges. |
|
Dry-on-Dry |
Fine textures, bark, fur, grass |
Blot brush until just damp — don’t drag bone-dry bristles. |
What You’ll Need to Practice
You don’t need fancy supplies to start practicing washes. Here's what I recommend:
-
Watercolor paper (I like 140lb cold press paper for beginners)
-
Watercolor paints (tubes or pans)
-
A large flat brush + a round brush
-
Two jars of clean water
-
Mixing palette or ceramic plate
-
Paper towel or cloth
-
Optional: masking tape and board to tape your paper down
💡 Beginner tip: Student-grade supplies are absolutely fine for practicing!
The Basic Watercolor Washes
Let’s dive into the washes. For each one, I’ll give you a clear explanation, simple steps, and a personal tip based on my own learning experience.
💡 Beginner tip: If you hold your brush in your right hand, you should work from left to right on the paper to avoid smudging. If you hold your paintbrush in your left hand, work from right to left.
1. Flat Wash
Note the even color tones of artist Sarah Cray's series of blue flat washes
A flat wash is a smooth, even layer of one color with no streaks or visible edges. Flat washes are perhaps the most challenging, so just know going in that we all have to practice to master them.
How to do it:
-
Mix enough paint and water in your palette to more than cover your entire area — once you start the wash, you don't want to run out of color!
-
Load your brush and apply horizontal strokes across the paper, slightly overlapping each stroke.
-
Work quickly with even strokes and keep the paper tilted slightly so the paint flows downward.
-
Don't vary the intensity of the color.
-
Reload your brush as needed and continue until the area is covered.
-
Avoid going back and touching up the wash in any way.
-
Allow to dry.
Watch out for: Streaks from dry brush strokes or not working fast enough.
💡 Beginner tip: The size of the area of paper you are going to cover with your wash dictates the size of brush you should use: If you are creating a large wash, use a larger brush; use a small brush for small washes.
👉 My tip: Flat washes helped me learn water control more than anything else. Don’t worry if it’s not perfect — just keep practicing!
Video tutorial recommendation: artist Sarah Cray's wash techniques
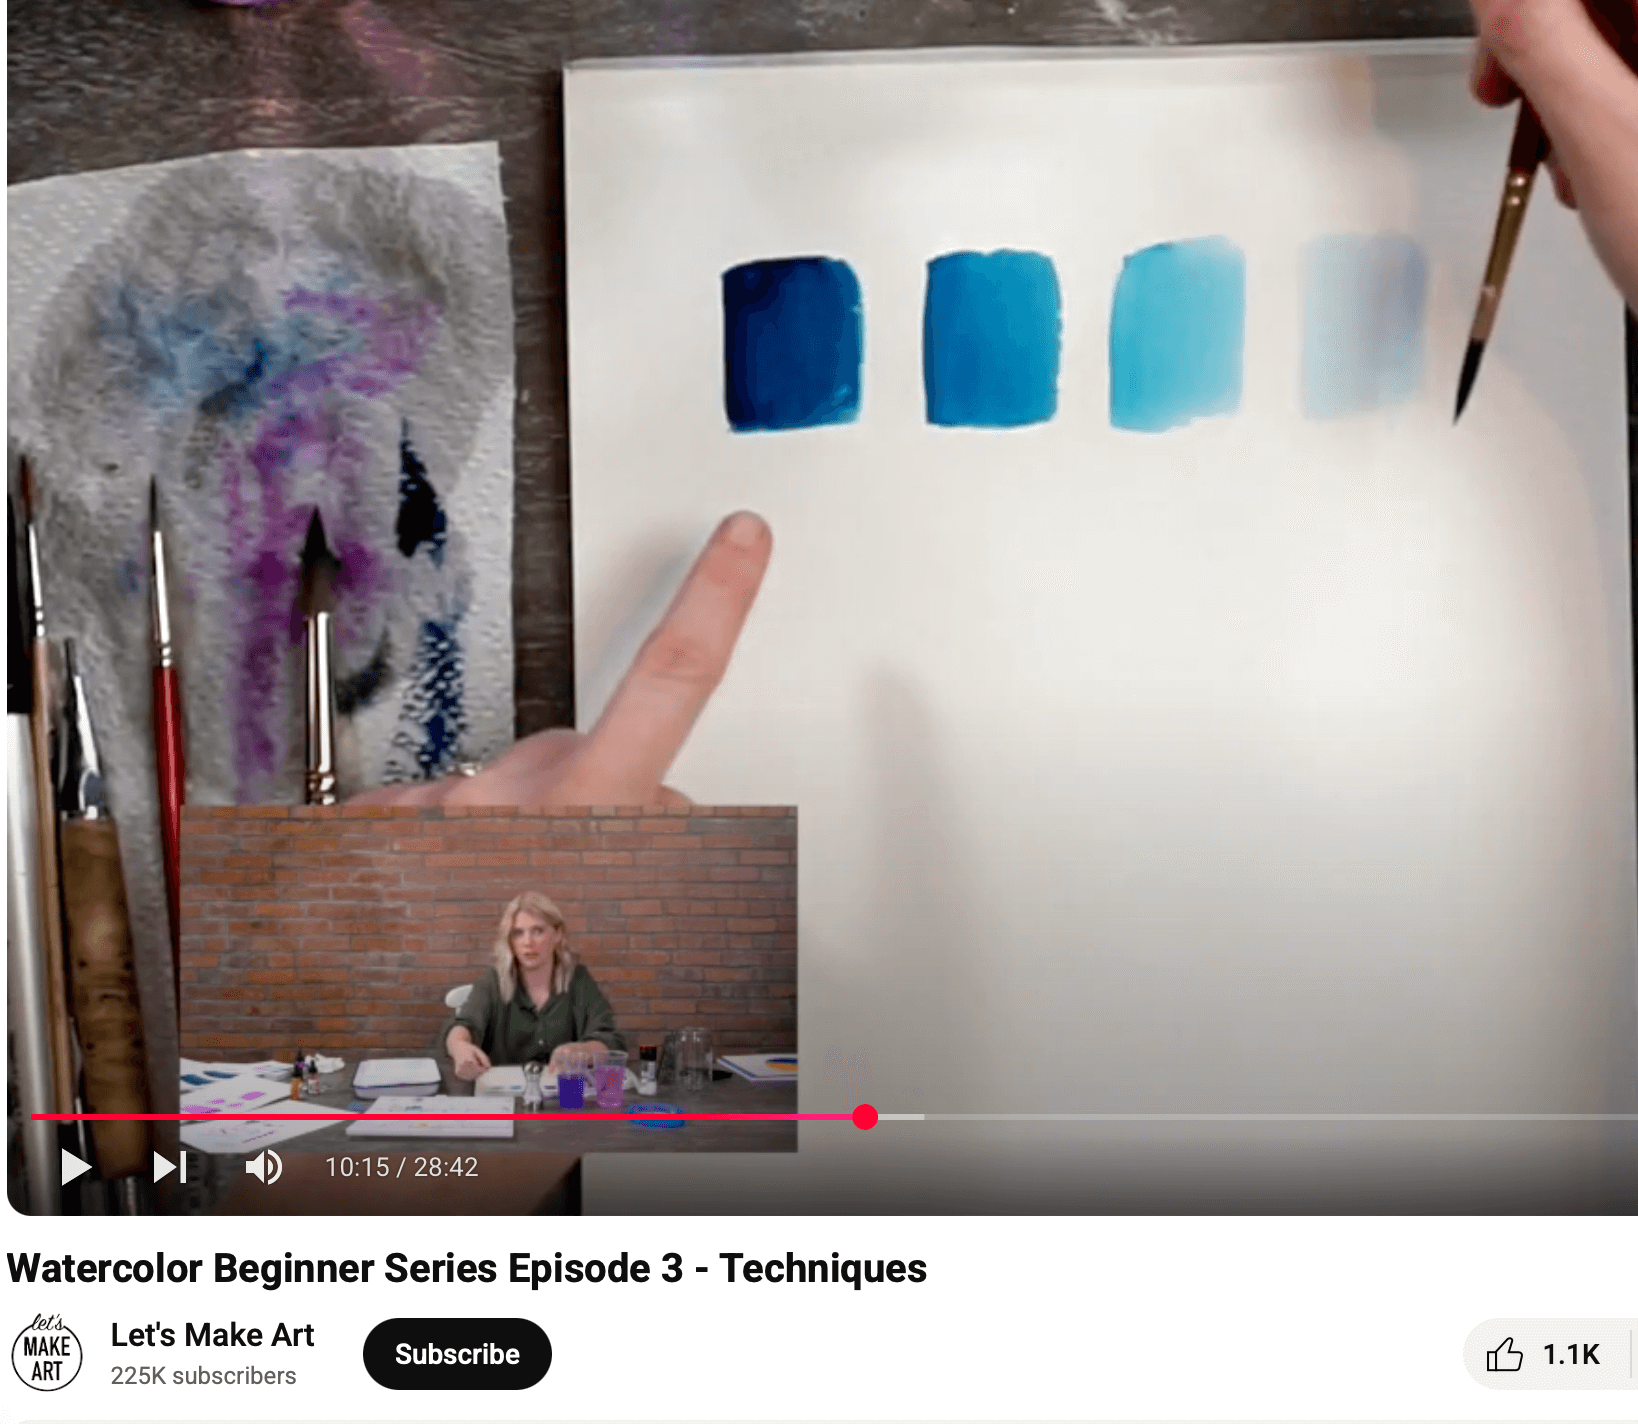
2. Gradient (Gradated / Graduated) Wash
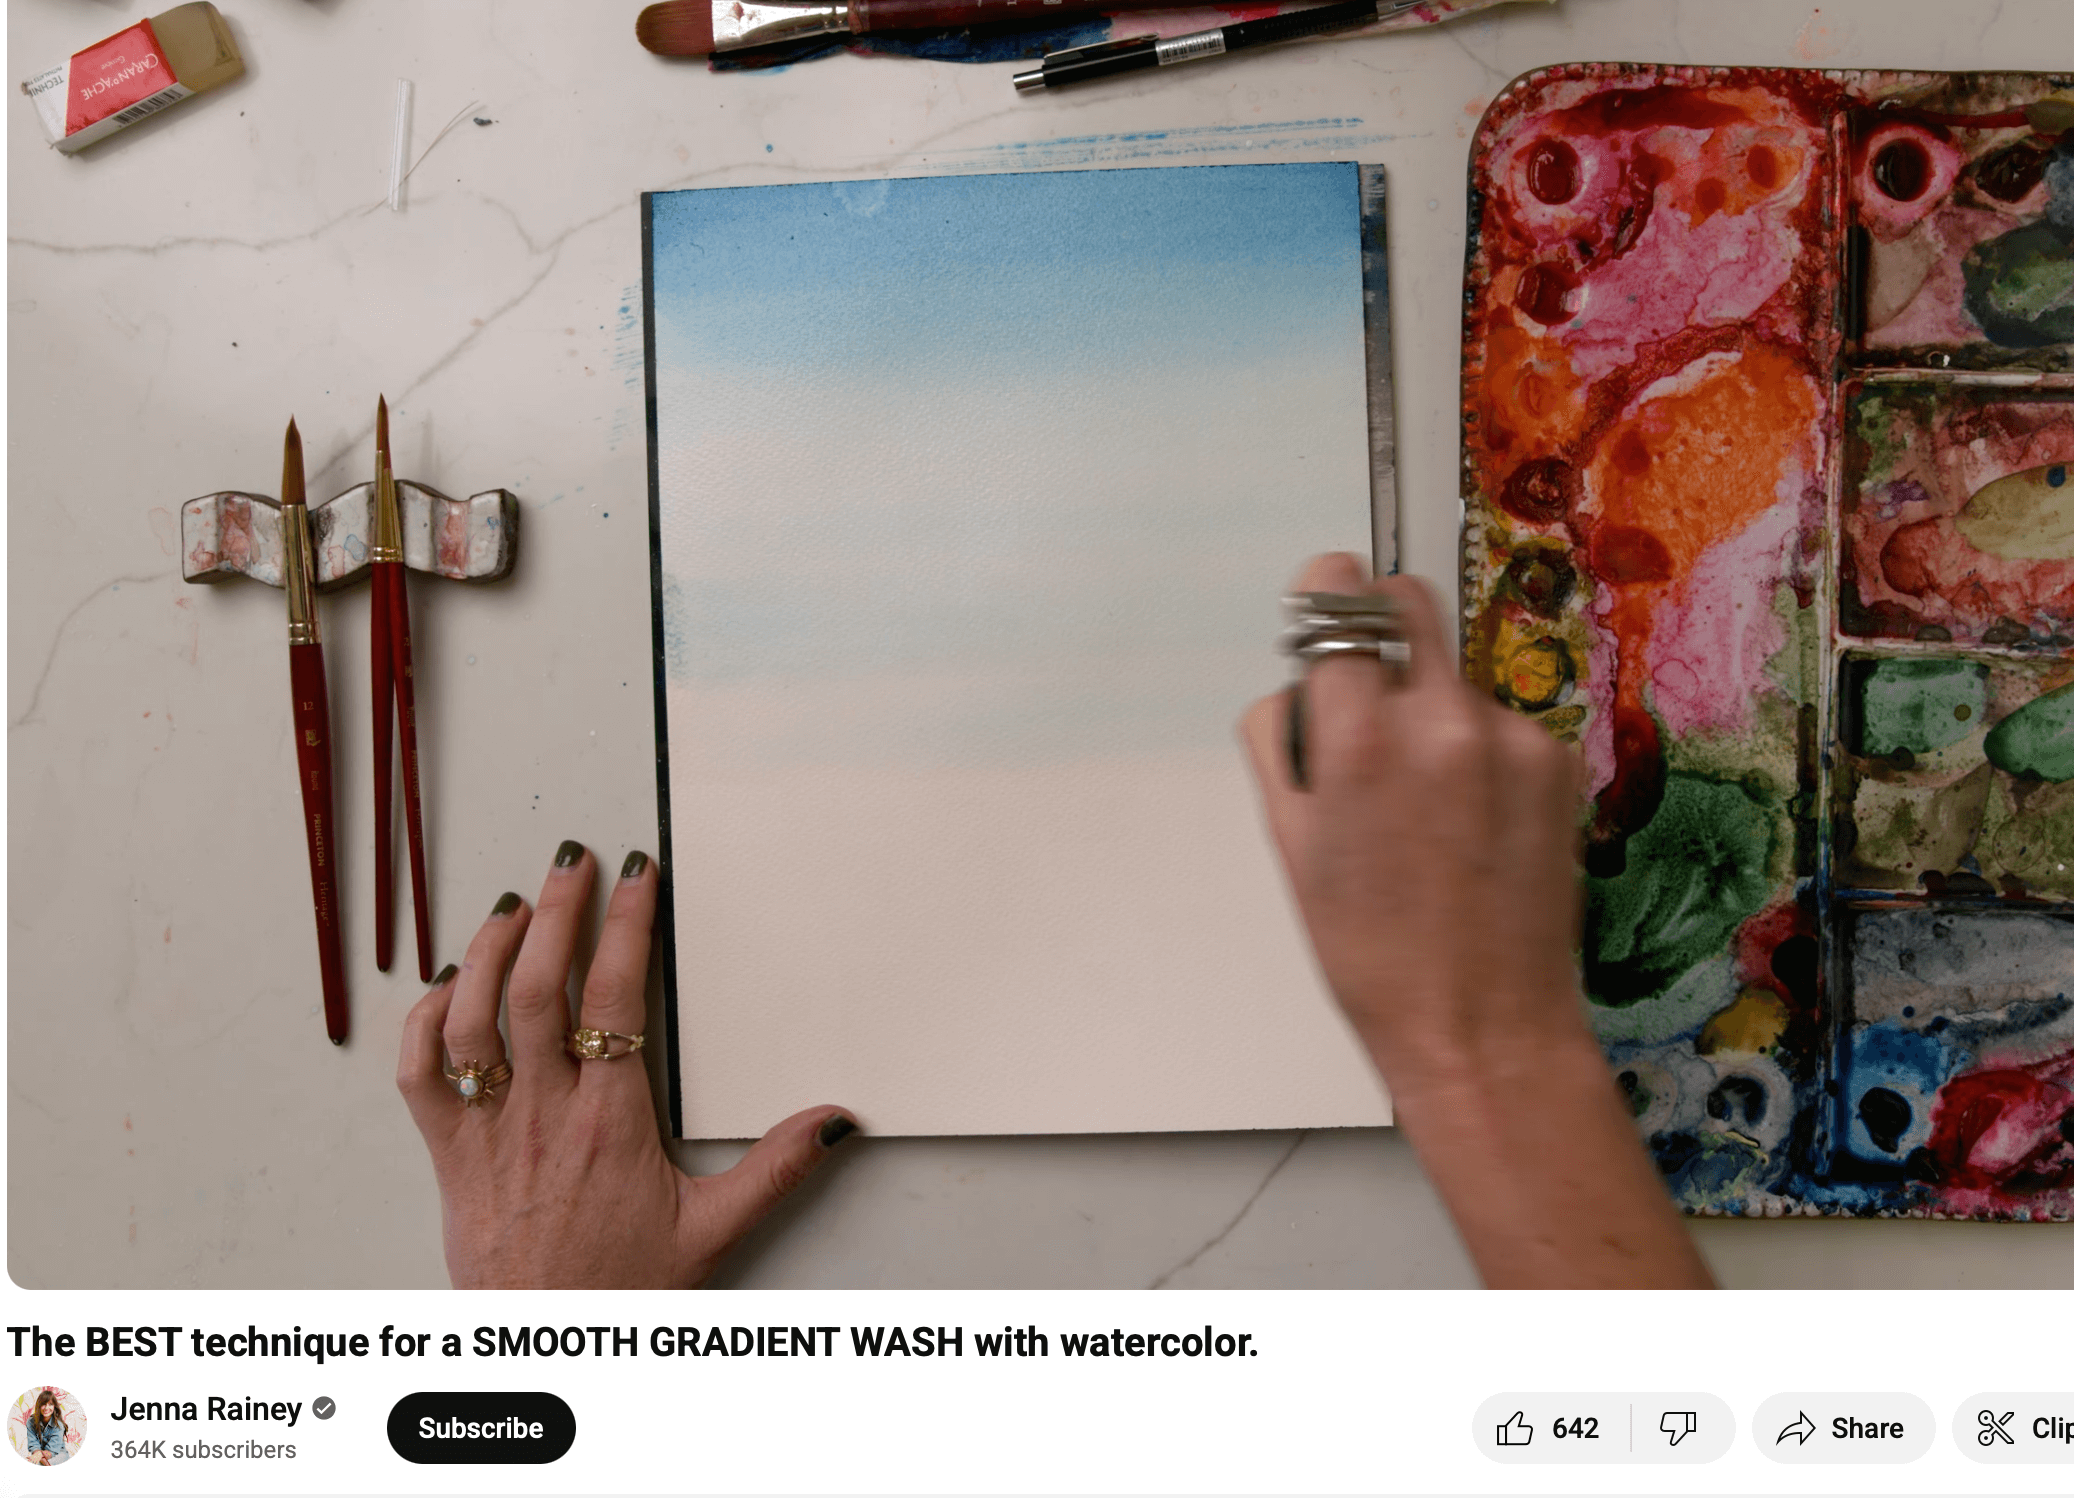
This is a lovely gradient wash by artist Jenna Rainey
This wash transitions from dark to light as you go down the page, adding clean water to the layers of the original wash color.
How to do it:
-
Mix up plenty of color and start as for a flat wash.
-
Start at the top of your paper with a fully loaded brush of color.
-
Paint the first horizontal stroke, then rinse your brush slightly, and go over the bottom edge.
-
Continue this pattern — rinse a little, paint the next stroke — moving downward until the color fades to light.
-
Work quickly, so that the paint has no chance of drying on the paper between the strokes.
Common mistake: Not rinsing the brush enough, which causes harsh lines.
👉 My tip: I started counting how many brush dips I used per row to stay consistent with the fade!
Video tutorial recommendation: artist Jenna Rainey's gradient wash
3. Variegated Wash / Blended Wash

Note the lighter blended intersection between the pink and green colors of artist Harriet de Winton's variegated wash (right)
Similar to the graduated wash but instead of a single color it blends two or more colors while the paper is still wet, creating a beautiful, soft transition often varying in density.
How to do it:
-
Mix up a generous amount of your chosen colors and start as for a flat wash.
-
Start with one color and apply it to the top of the paper.
-
While it’s still wet, load your brush with a second color and paint just below the first.
-
Let them meet and softly blend — don’t overwork it!
-
If you have more than two colors, continue this pattern moving downward.
Watch out for: Muddy colors from mixing incompatible pigments.
👉 My tip: Always test color combos before starting your wash; some colors just don’t want to be friends.
Video tutorial recommendation: artist Harriet de Winton's wash techniques
4. Wet-on-Wet
In this technique, you paint onto wet paper, or an existing layer of wet paint, letting colors spread and soften naturally.
How to do it:
-
Wet your paper with clean water using a large brush.
-
The paper should be wet without puddles — the sheen has begun to leave the surface of the paper.
-
Load your brush with paint and drop it onto the wet surface.
-
Watch it spread! You can add more colors and let them mingle.
Best for: Skies, dreamy backgrounds, soft blends.
💡 Beginner tip: This technique is playful and unpredictable; you'll see unique color blends, blotches, runs, granular textures, and other random effects. We call these "happy accidents"!
👉 My tip: Trust the flow. The hardest part of wet-on-wet is learning to stop and let it dry without touching it again!
Video tutorial recommendations: artist Sarah Cray's wash techniques and artist Harriet de Winton's wash techniques
5. Wet-on-Dry
This is when you paint directly onto dry paper, or an existing layer of paint that has dried, giving you crisp, defined shapes and edges.
How to do it:
-
Load your brush with paint.
-
Paint directly on the dry paper.
Use it for: Details, layering over dried washes, and controlled shapes.
💡 Beginner tip: Be sure to work in layers from the lightest colors to the darkest ones, and always let each wash dry completely before you paint over it.
👉 My tip: This is my go-to technique for painting leaves, petals, and clean outlines.
Video tutorial recommendations: artist Sarah Cray's wash techniques and artist Harriet de Winton's wash techniques
6. Dry-on-Wet
In this technique, you use a fairly dry brush on wet paper for a more textured, controlled bloom.
How to do it:
-
Wet your paper.
-
The paper should be wet without puddles — the sheen has begun to leave the surface of the paper.
-
Lightly load your brush with thick paint and drag it over the surface.
-
The edges will soften while keeping some texture.
Best for: Organic shapes, layered textures, petals.
👉 My tip: It took me a while to appreciate this one! Try different brush pressures to see what textures you like best.
Video tutorial recommendations: artist Sarah Cray's wash techniques and artist Harriet de Winton's wash techniques
7. Dry-on-Dry / Dry Brush Technique
This technique uses very little water and paint on a dry surface to create texture and fine lines.
How to do it:
-
Dip your brush in paint, then blot off almost all the moisture.
-
The paint consistency should be similar to thick cream.
-
Drag the brush lightly across dry paper.
Perfect for: Tree bark, fur, rock textures, grass.
💡 Beginner tip: Your brush should never be bone dry; the term dry-on-dry refers to watercolor in its most concentrated (non-diluted) form — the brush bristles still need to be damp enough to hold paint :)
Video tutorial recommendations: artist Sarah Cray's wash techniques and artist Harriet de Winton's wash techniques
🚫 Common Beginner Mistakes (And How to Avoid Them)
Here are some mistakes I've made (and seen others make), and how to fix/avoid them:
Blooms: If you want to prevent or reduce blooms, try to balance the wetness of the shapes/colors you are blending. If one color holds more water than the other, you will get a bloom effect.
Flat wash: Be sure to mix more than enough paint for the area you are painting — if you run out, what you've painted so far will dry before you're able to mix another batch and you won't be able to achieve an even color.
Over-mixing: When blending colors, pushing the two colors into each other with your brush can lead to a dull, muddy color. For best results, learn to stop and let it dry without disturbing it.
Standing water: In wetting your paper, if you are left with puddles of standing water, that's too much water! To fix that, gently blot the puddles with kitchen paper.
Practice Ideas for Each Wash
Here are a few simple exercises to try:
-
Flat wash: Fill a rectangle with one even color.
-
Gradient wash: Create a strip that fades from dark to light.
-
Variegated wash: Try blending two or three colors in one row.
-
Wet-on-wet: Paint a wet circle and drop in different colors.
-
Wet-on-dry: Paint clean shapes like leaves or letters.
-
Dry-on-wet: Try adding petals or patterns over a wet base.
-
Dry-on-dry: Create grass strokes, bark lines, or soft texture.
👉 Try making a “wash sampler” sheet — one space for each technique on the same page.
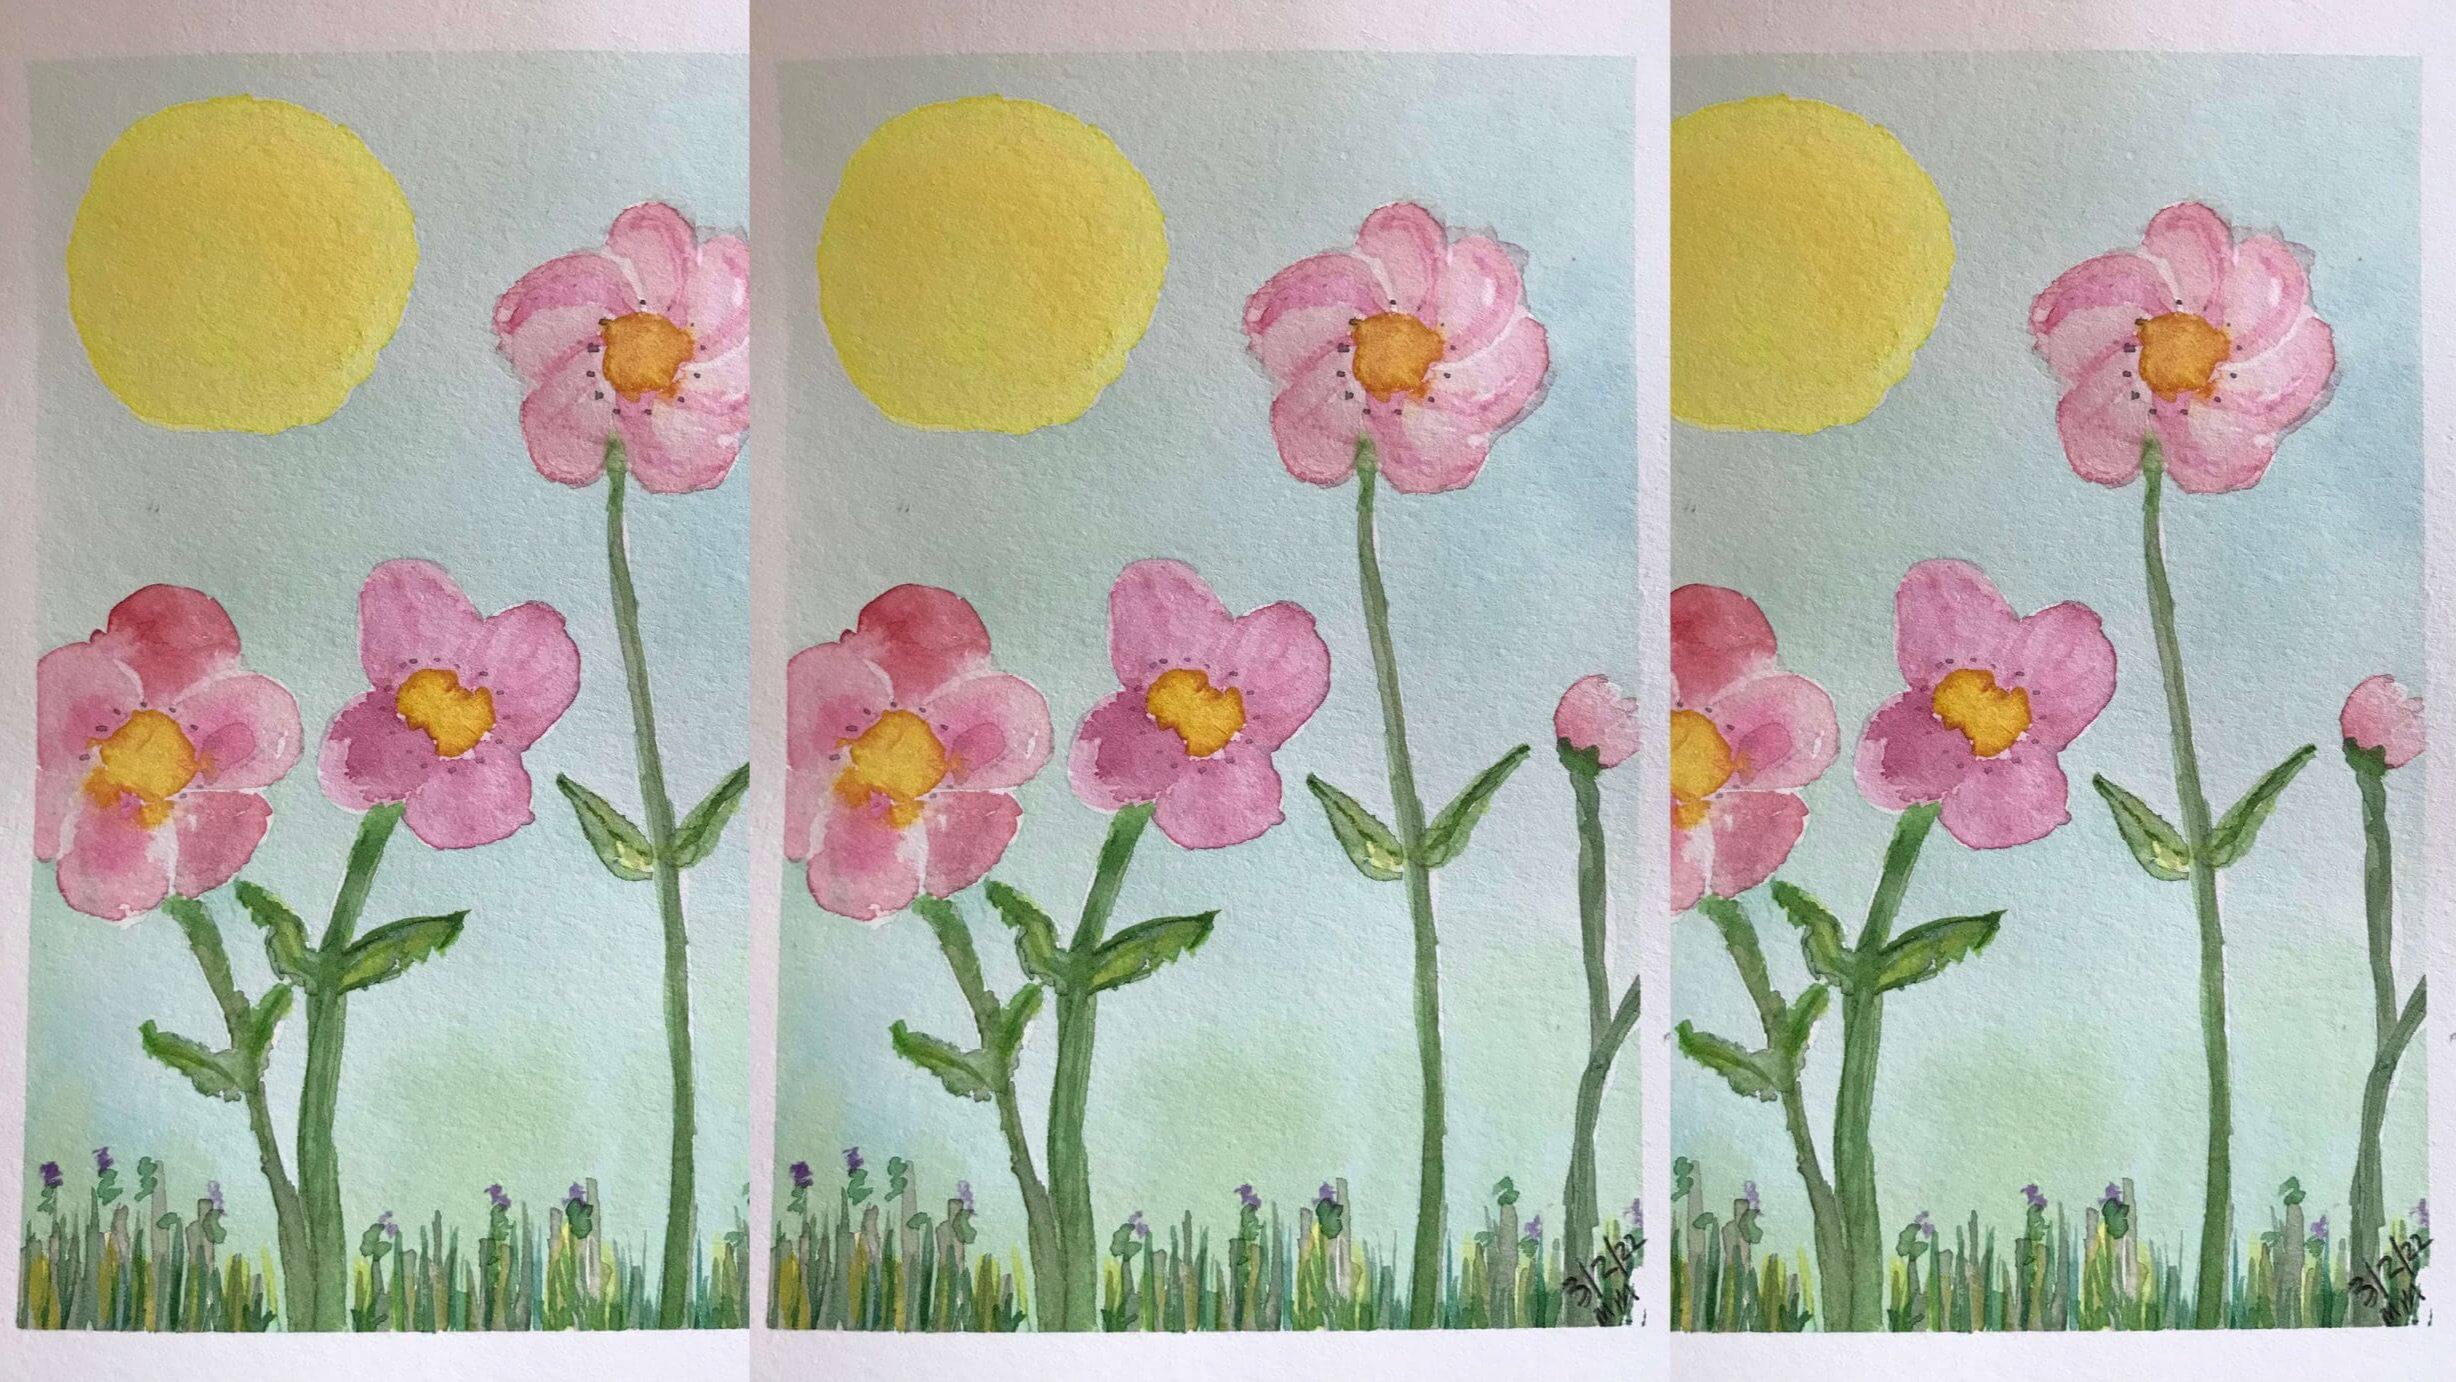
Video tutorial recommendation: artist Emma Jane Lefebvre's How to Paint a Soft Gradient Sunset Sky with Watercolors
💬 Closing Thoughts for Today
These basic watercolor washes are the foundation to everything in watercolor. For beginners, learning and practicing these foundational techniques will strengthen your watercolor skills.
-
Flat, Gradient, and Variegated Washes teach you about color control and blending.
-
Wet-on-Wet and Dry-on-Wet invite spontaneity and texture.
-
Wet-on-Dry and Dry-on-Dry offer precision and contrast.
You don't need perfect technique — you just need to play and practice.
And over time, as you gain familiarity with how water and paint interact, you’ll start to feel more confident and creative in your painting (like I did).
🔗 Recommended for You
- 7 Surprising Benefits of Using a Sketchbook for Watercolor Beginners
- Simple and Fun Watercolor Spring Meadow Tutorial Review 🌸
- Beginner's Guide to How to Use White Space in Watercolor
🧭 More from the Watercolor Fundamentals Series
Author

